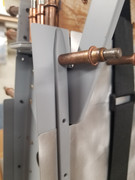
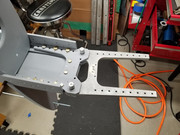
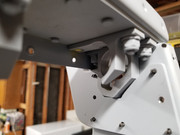
Inner wing build is coming along. Tried to post all my pics to the Gallery but could not get them to load. Posting a few here.
Question I have to all the experienced builders, what is the best way to start riveting the wing, i.e. start here and work up/down/outward etc. I have some good notes extracted from a newsletter that I will post here as they were helpful.
Also, a few areas that I found some "gotchas" or "dahs" that I feel I should pass on (note, some are completely mine):
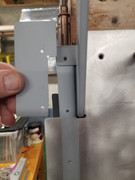
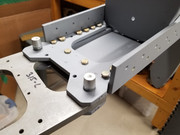
- the plans for the end ribs 210R -2 brackets. The bottom -2 bracket has to be cut/modified to fit per the plans. See the pics (first pic).
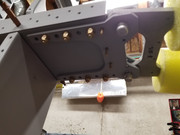
- The flap mount brackets/hangars. You have to either cut slots, make a cutout or fins alternate ways to install when skinning. My inner bracket has a cutout and a small scab on piece that works very well. My outer piece is a different story. I did not cut the slot all the way through, instead I am going to install the skin and cleco the bracket on temporarily and then cherry max rivet the bracket on. Probably other ways, but that is how I am doing it.
- I did not dimple the main spar caps, however, after driving some practice rivets, I have elected to take my wood mallet and the dimple set and make a partial dimple once the skin is in place. I find that the rivet heads don't always get flush and that I tend to over drive them to try to make them nice and flush. I also do not want to have to shave any of the heads when i am done.
- I added additional stiffners on the wing walk ribs to add support. Minimal weight with a lot of added strength.
- I will be adding a couple additional 631-2 brackets to the trailing edge. My end ribs had x4 holes vs the x3 holes on the plans so I will have to make some with longer ends to catch 2 rivets on the bottom vs 1 rivet in the middle.
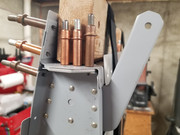
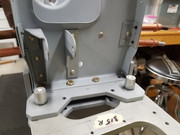
- On the installation of the outer spare attach fittings. I hand tightened 3 bolts on top/bottom of each of the inner fittings, then installed the 315 outer fitting and drove/tapped in the very tight pins in place. Then, I checked the bolts for tight fit and installed and torqued them. I have to leave out every other bolt until I rivet the spar cap. Then I will install the remaining bolts and torque them. Install and rivet on the end ribs and then remove the outer 315 fitting/pins. This way, it all stays tight and locked in place.
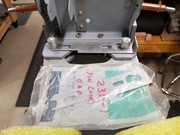
- There are 1-2 rivets on the bottom trailing edge that needed one of the bolts/nuts removed from the rear pivot bracket. Also, there will be 1-2 of these that will require a pop rivet that there is no room to get a bucking bar in there with the brackets installed. I suppose these could be remeoved and installed last, but mine are installed fitted and I elected not to remove them.
I will think of more stuff as I go and will post more pics here. Hopefully this may help any new builders (I hope there are some!) so that you can use this as you build and make progress.
Onward! More pics to follow.
Rob
rv3maker

