Thorp Air Command - T18.net
http://t18.net/thorpforum/

Canopy Fairing
http://t18.net/thorpforum/viewtopic.php?f=6&t=6826
Page 1 of 2

Author:  Scott Stine [ Sun Oct 23, 2011 9:28 pm ]
Post subject:  Canopy Fairing

Photo survey time folks. Looking for some examples of how everyone finished off their windshield trim strip at the bottom sides. Working on mine now.....have made patterns for the windshield and canopy and just fitted the windshield trim piece. I currently have a bit of it running forward and blending into the skin. Wondering how everyone tucked, fitted, and trimmed this area.

Thanks for the help.

ss

Author:  Rich Brazell [ Mon Oct 24, 2011 6:48 am ]
Post subject:  Canopy Fairing

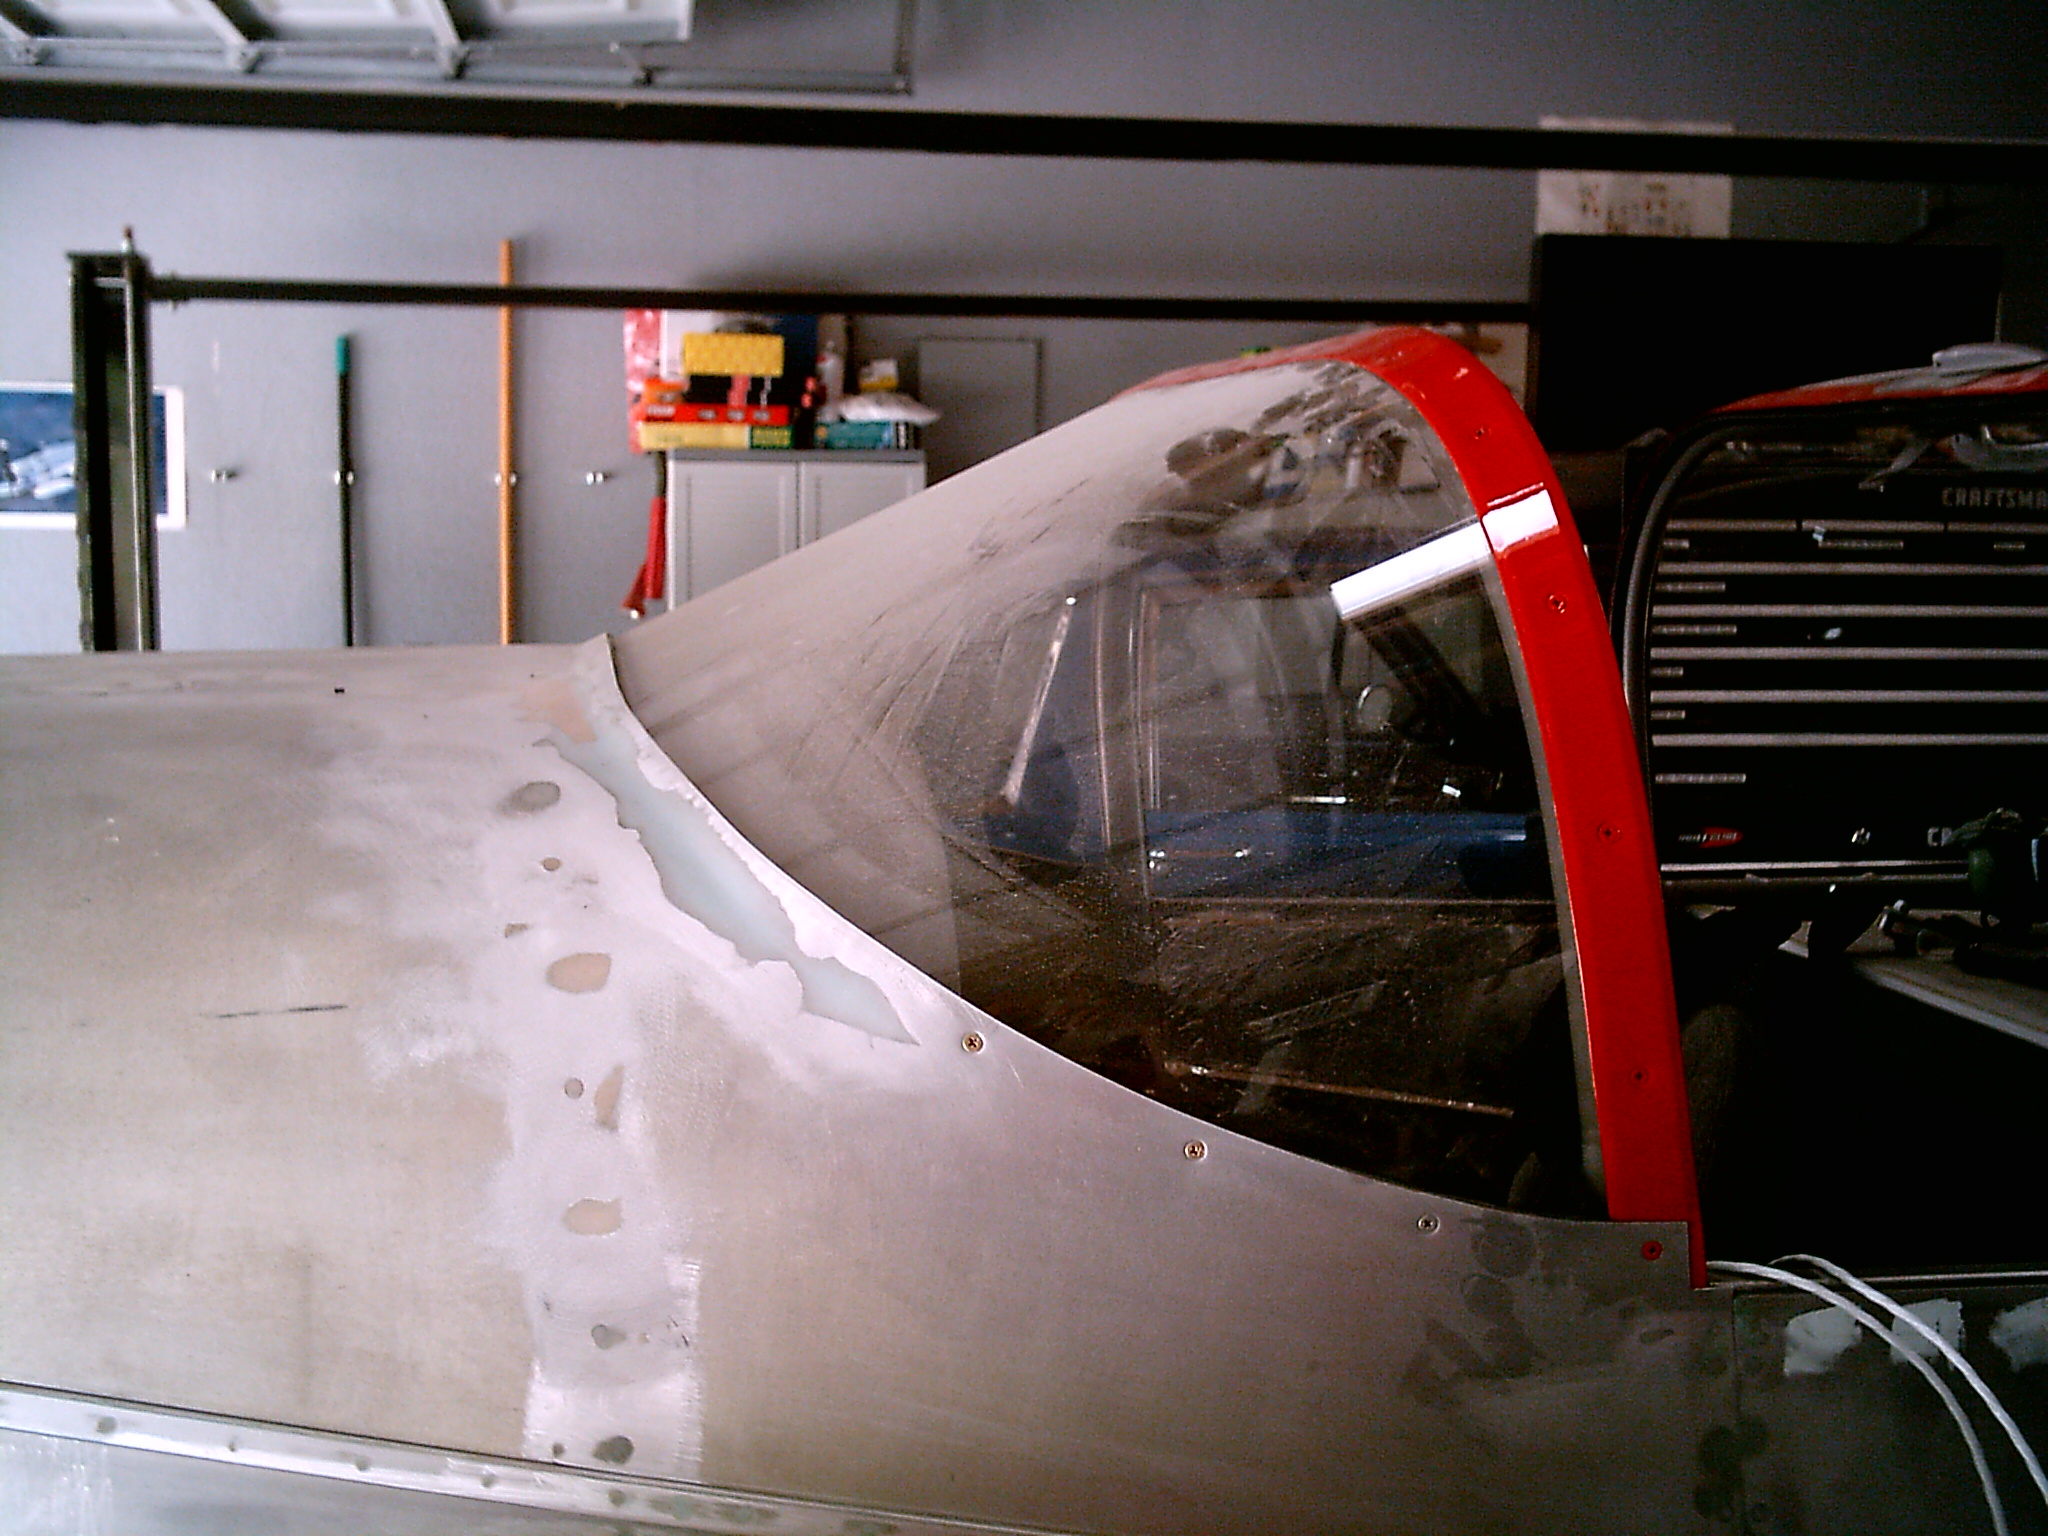
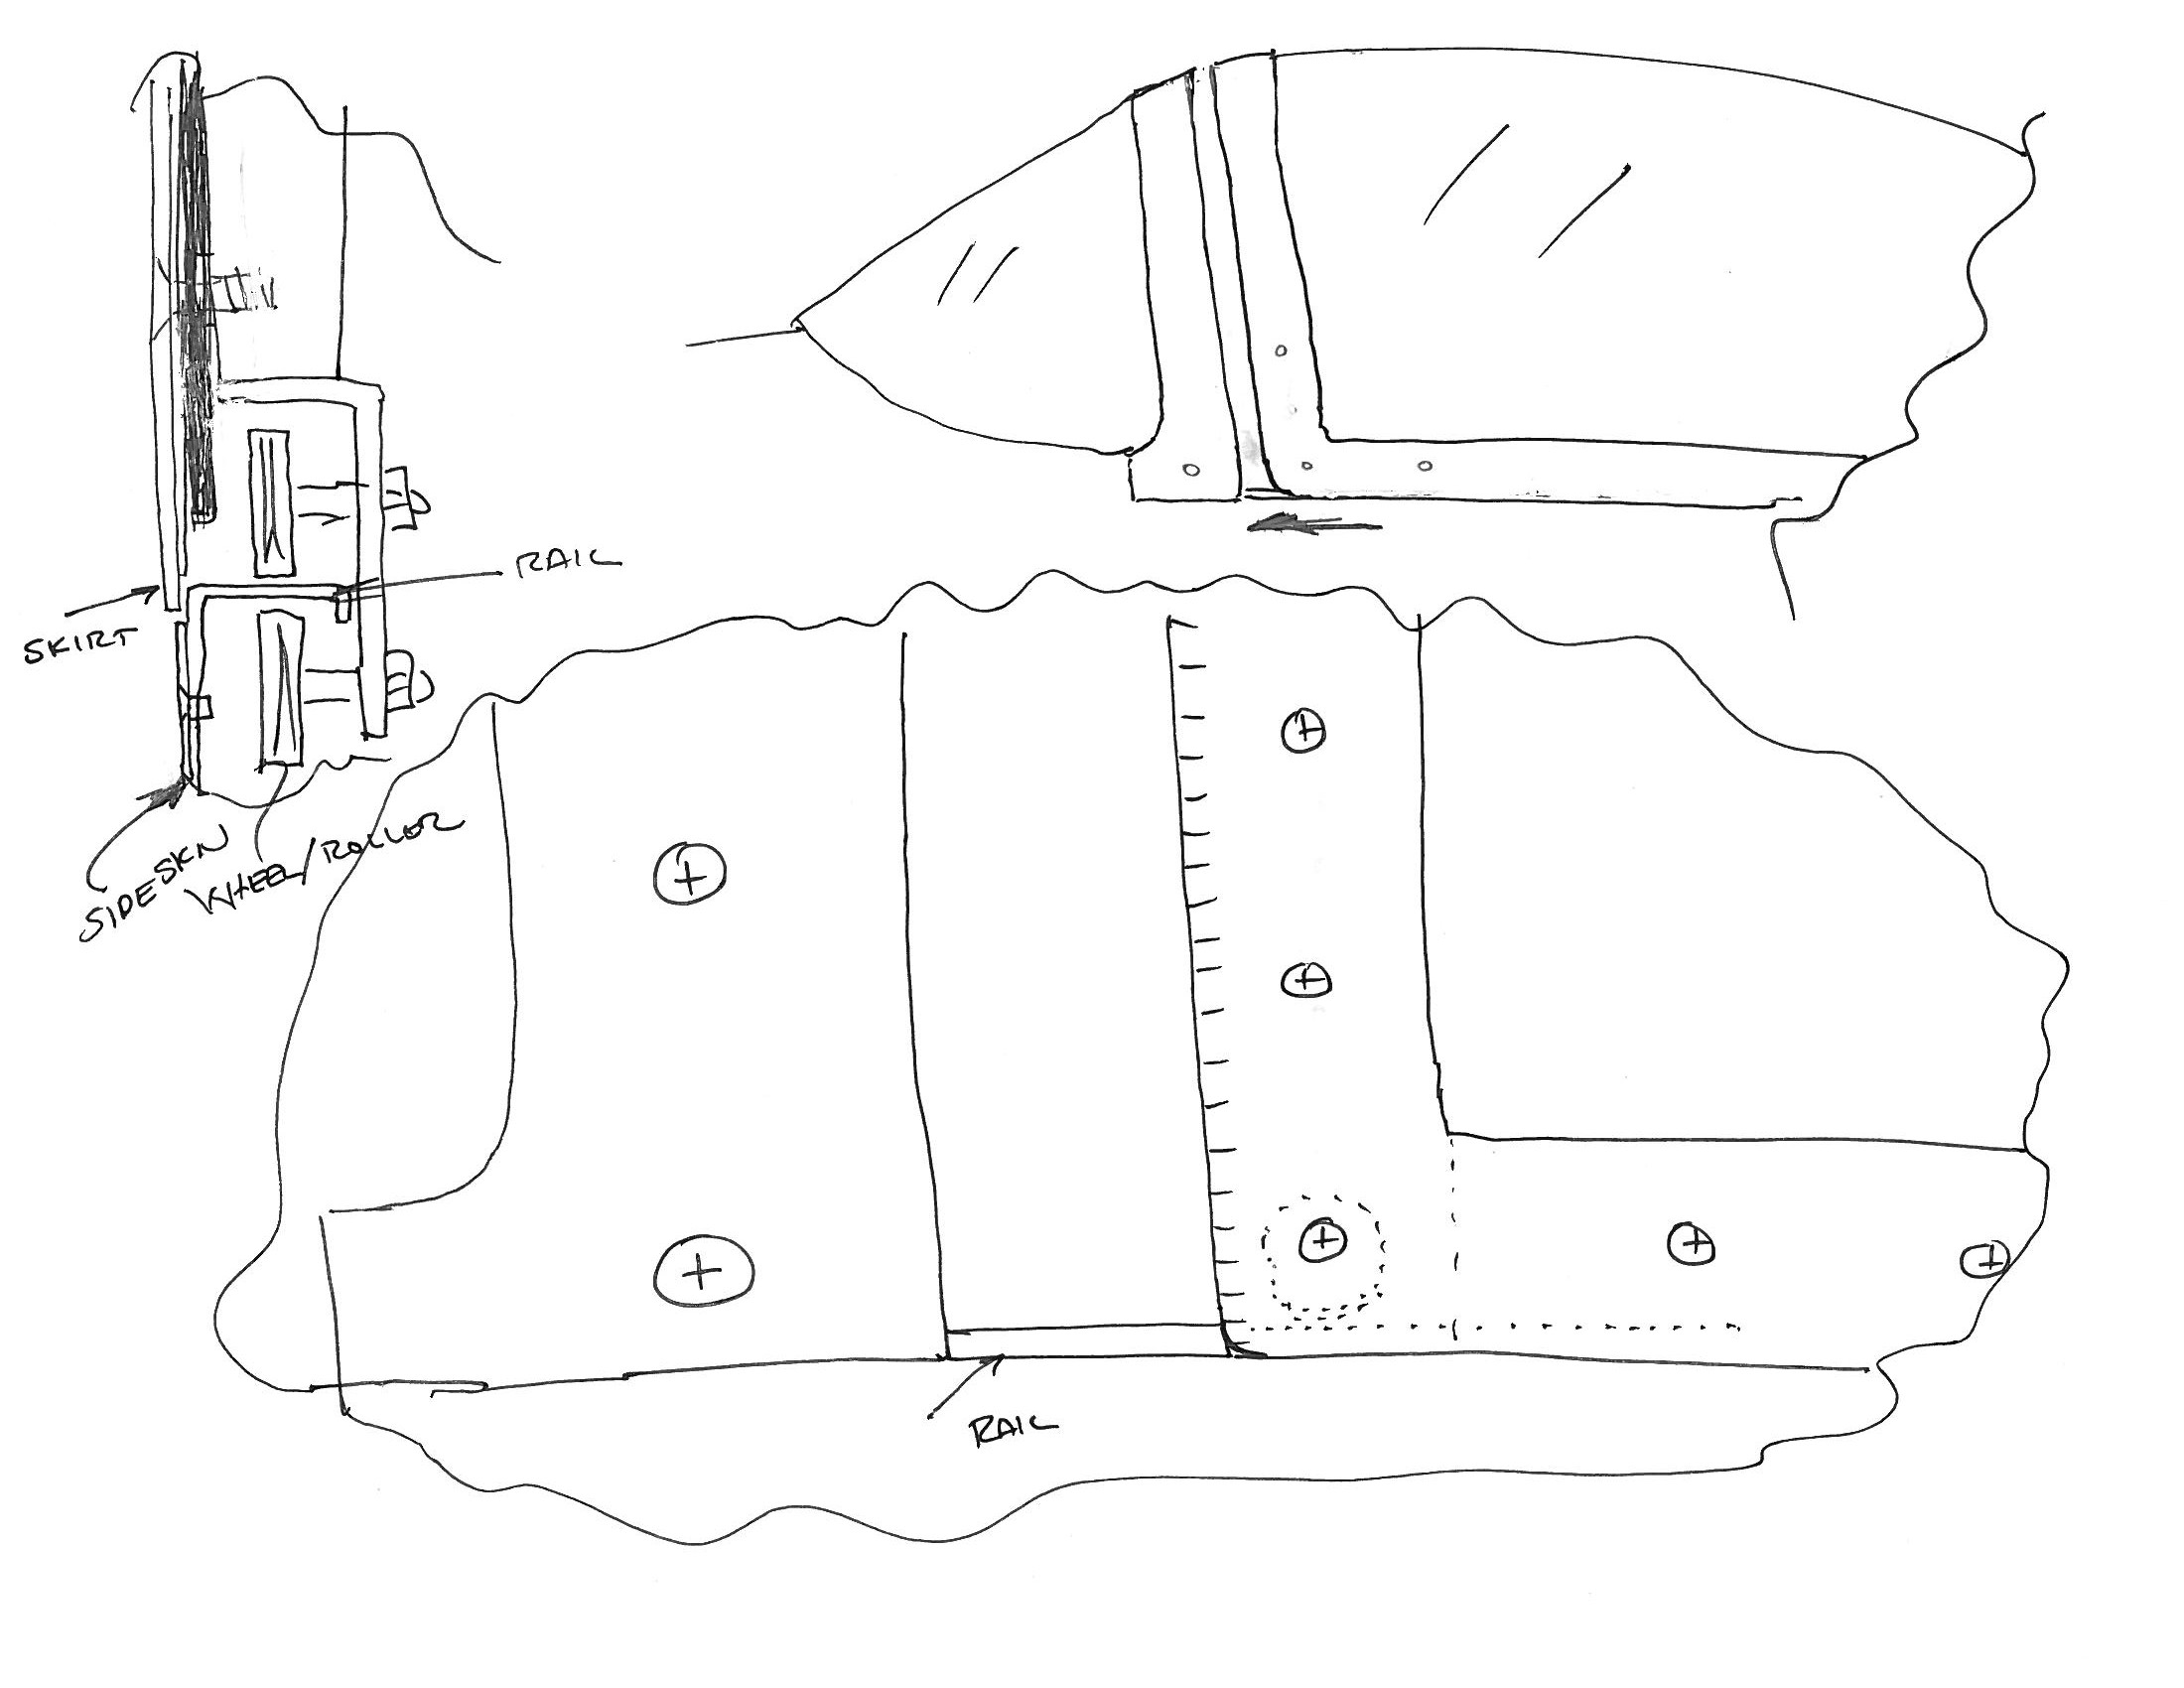
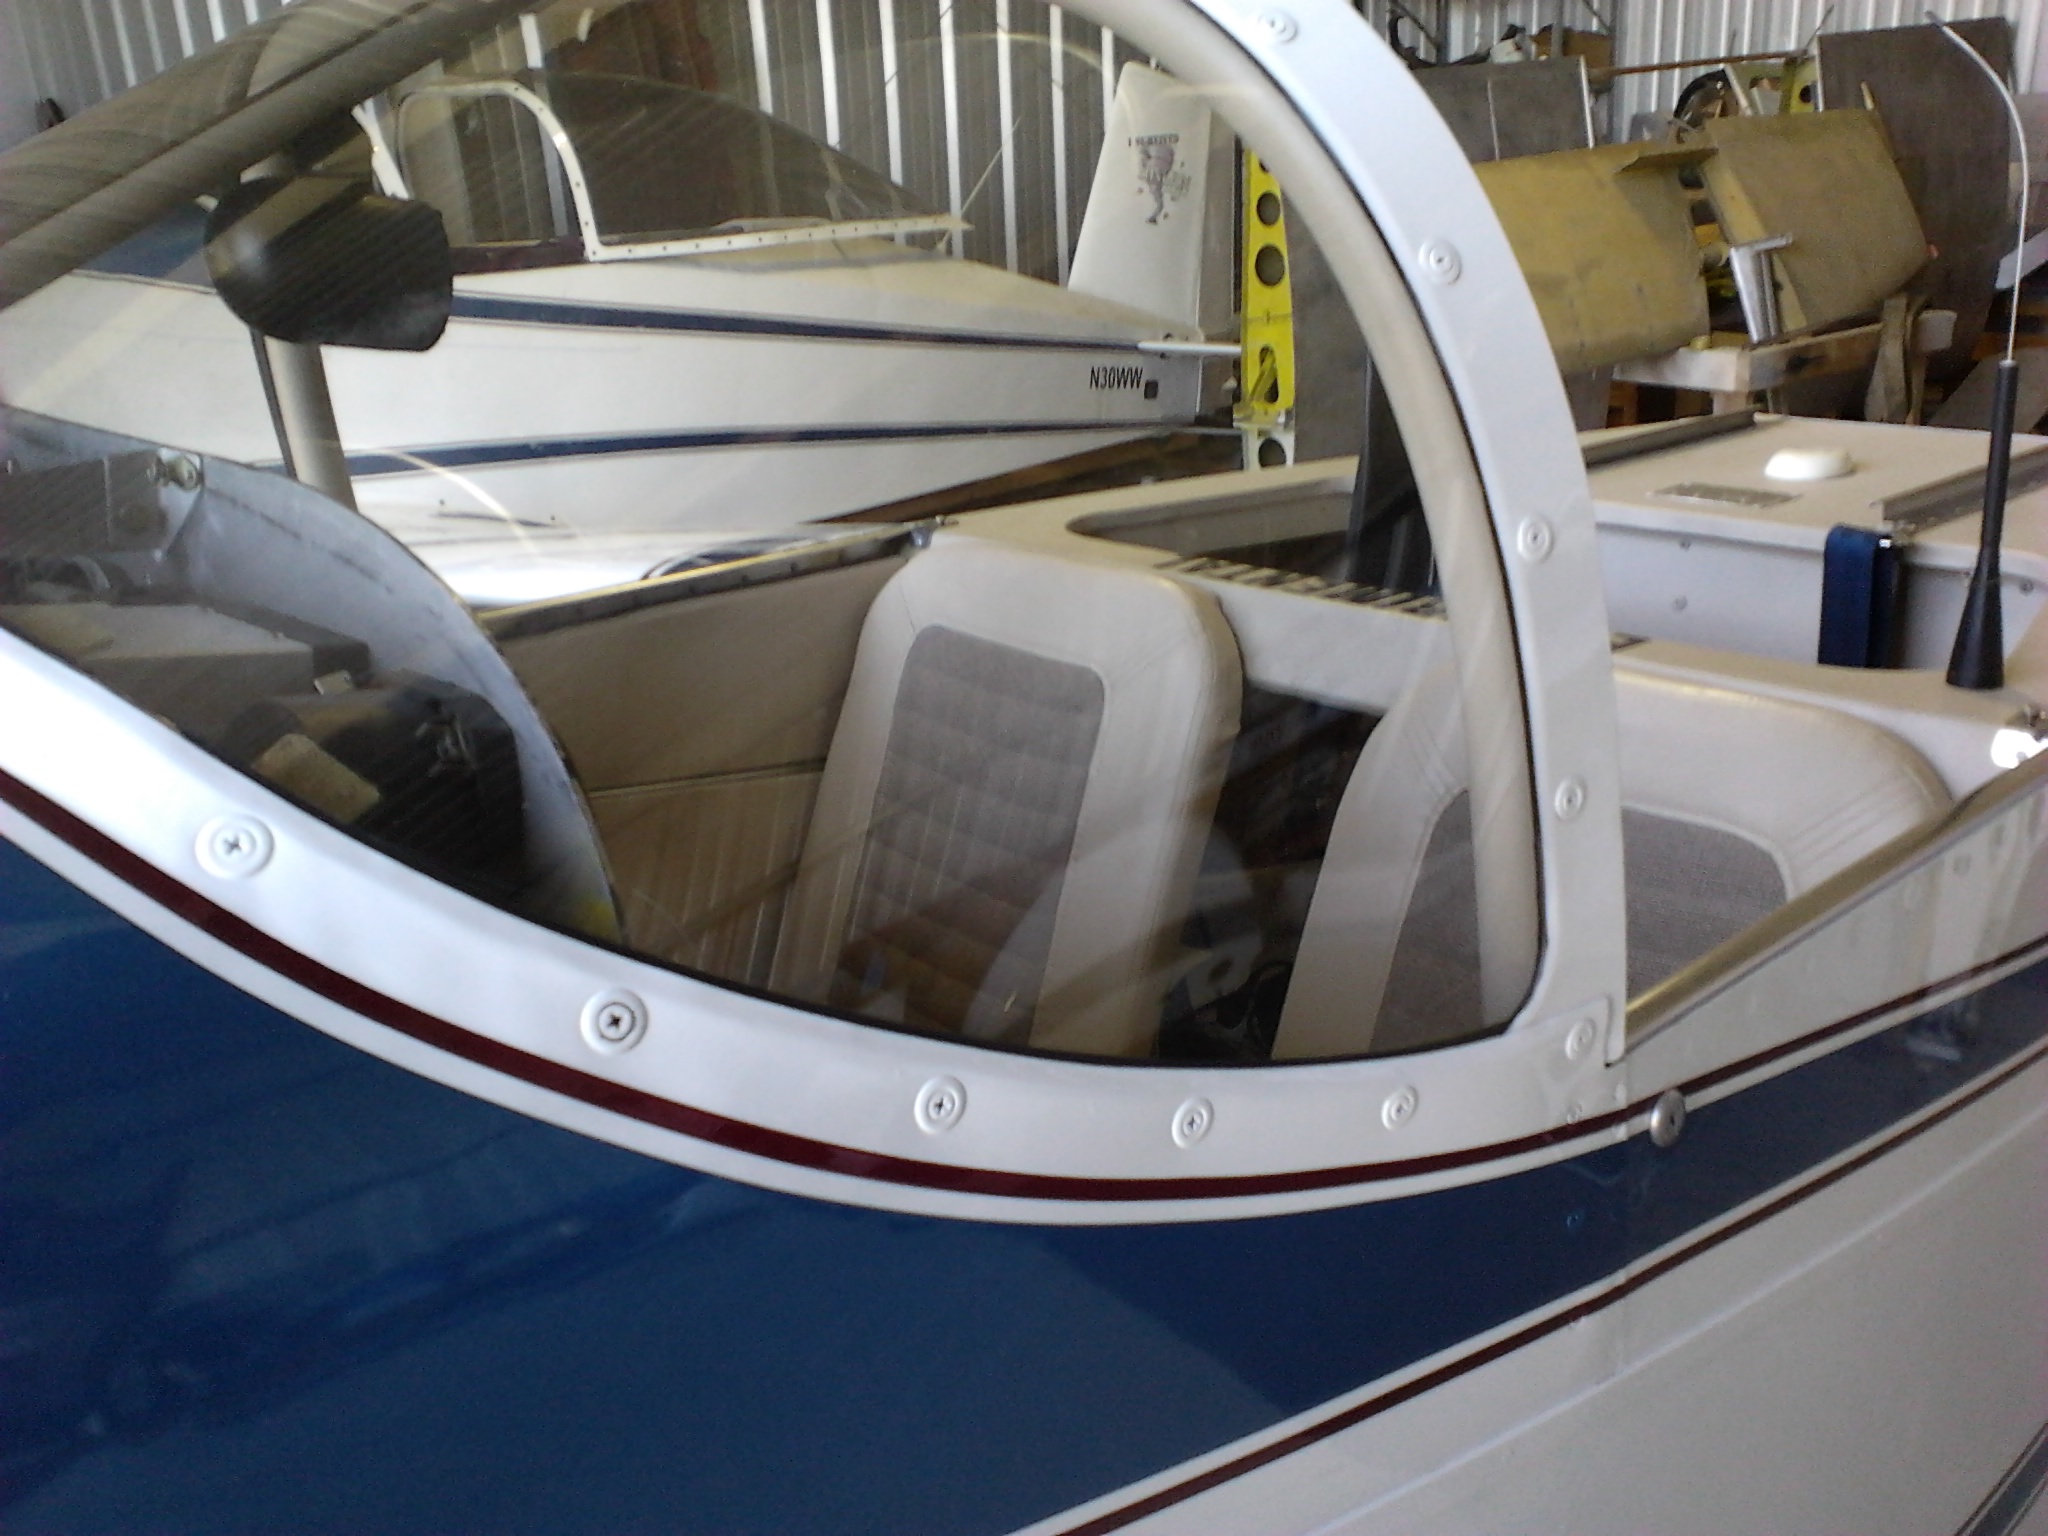
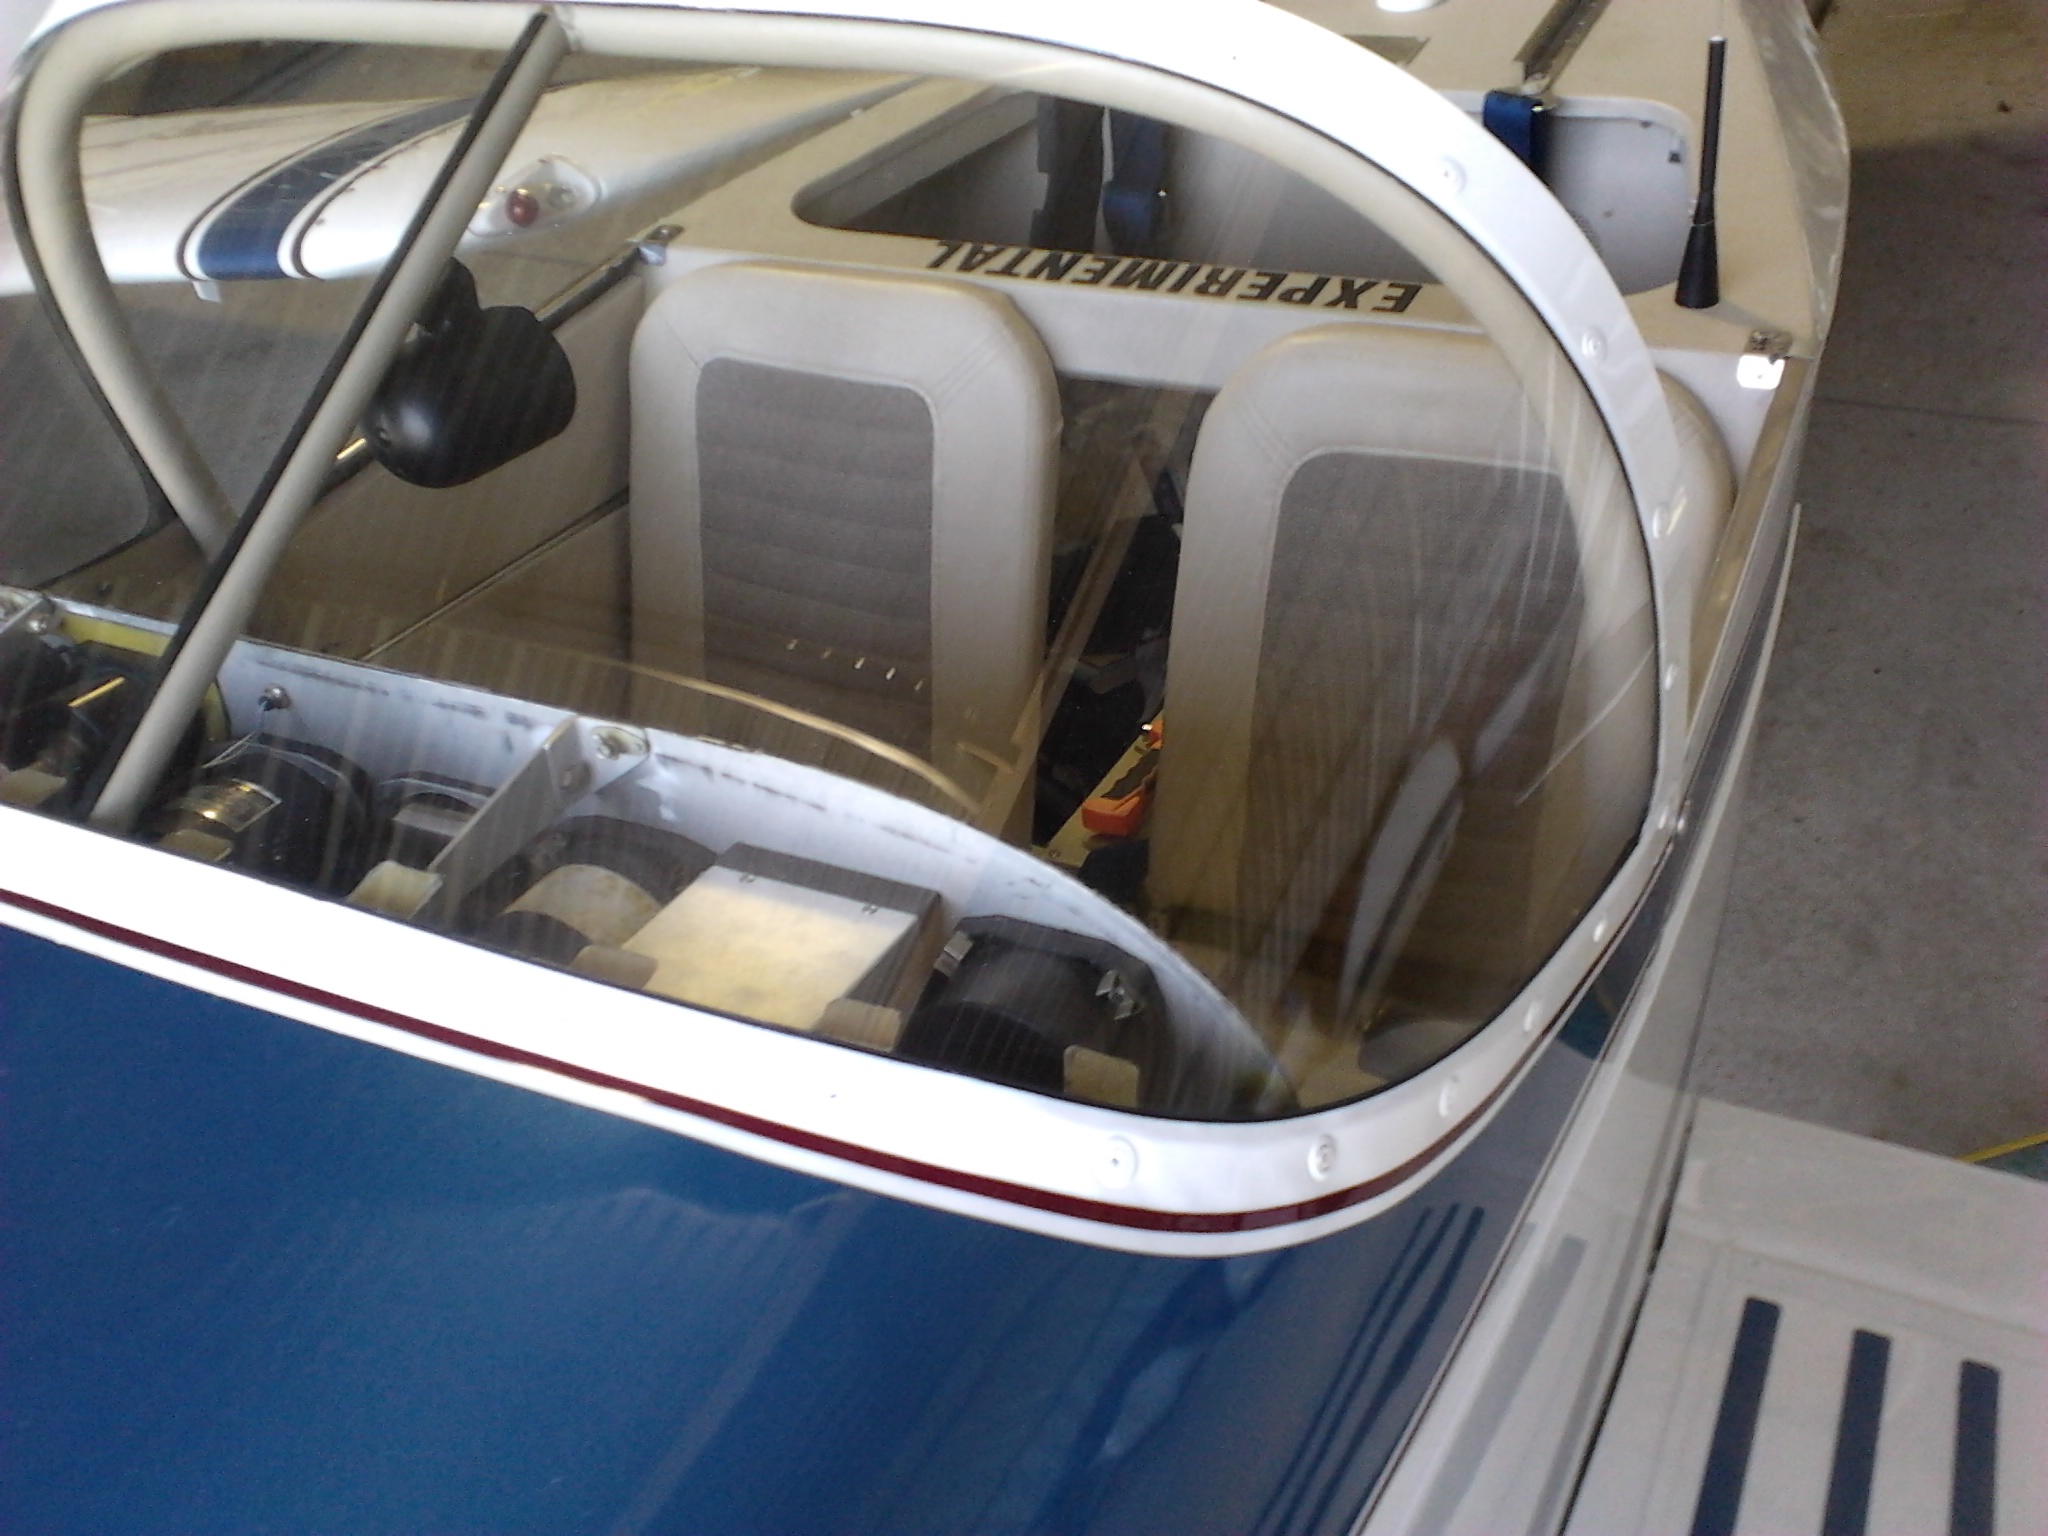
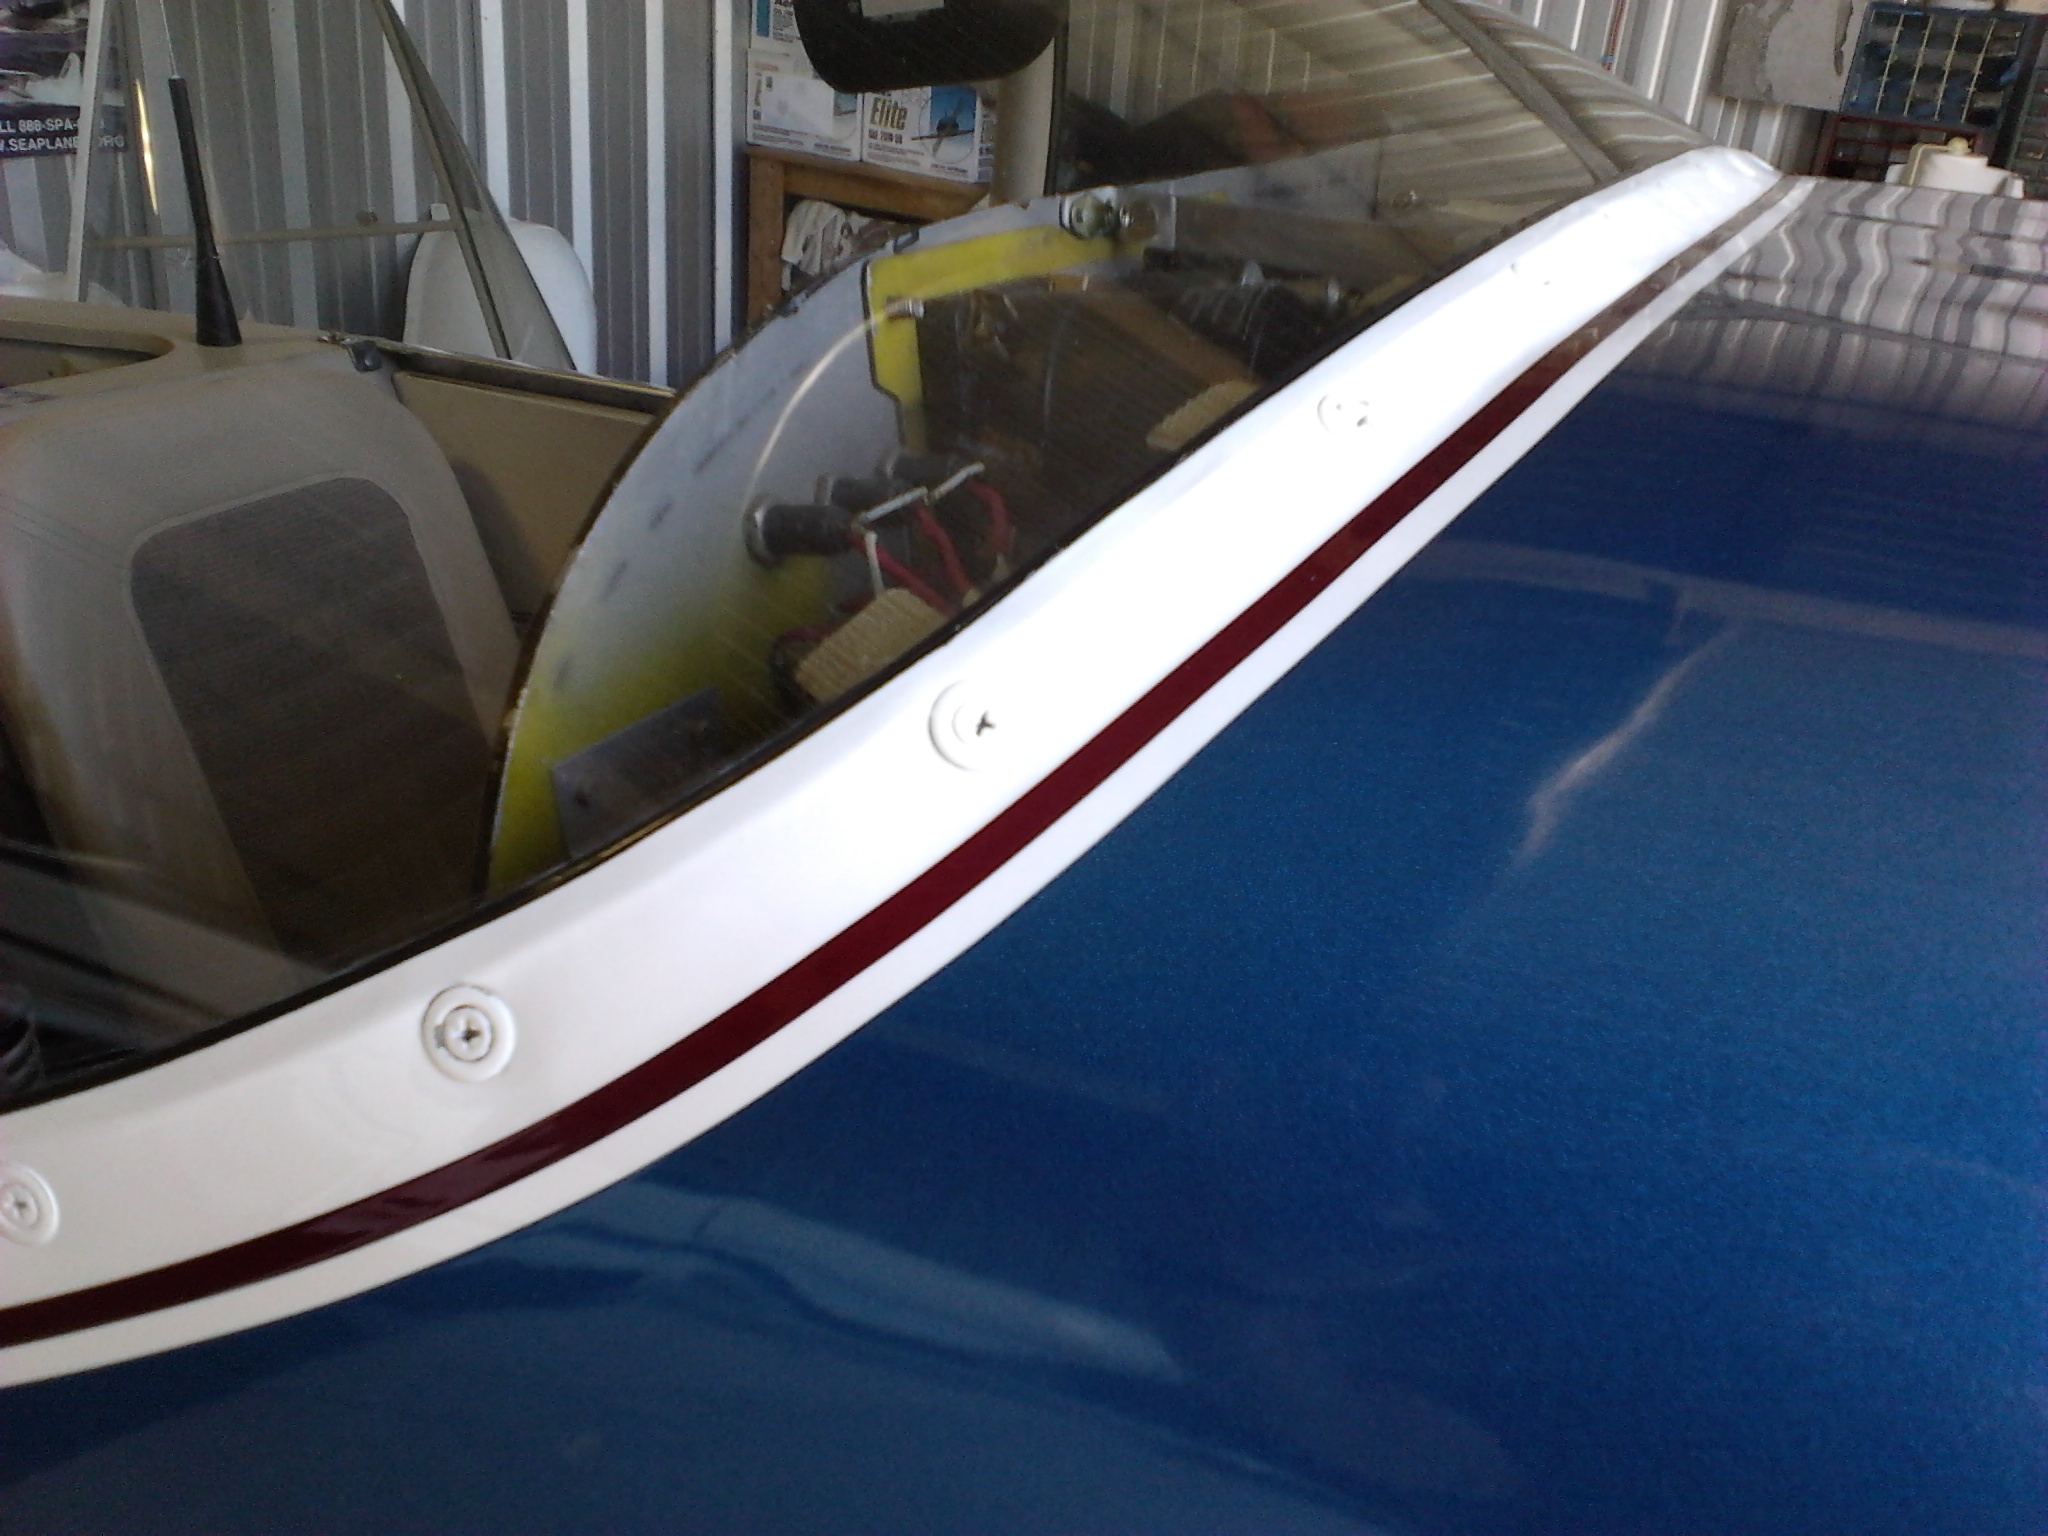
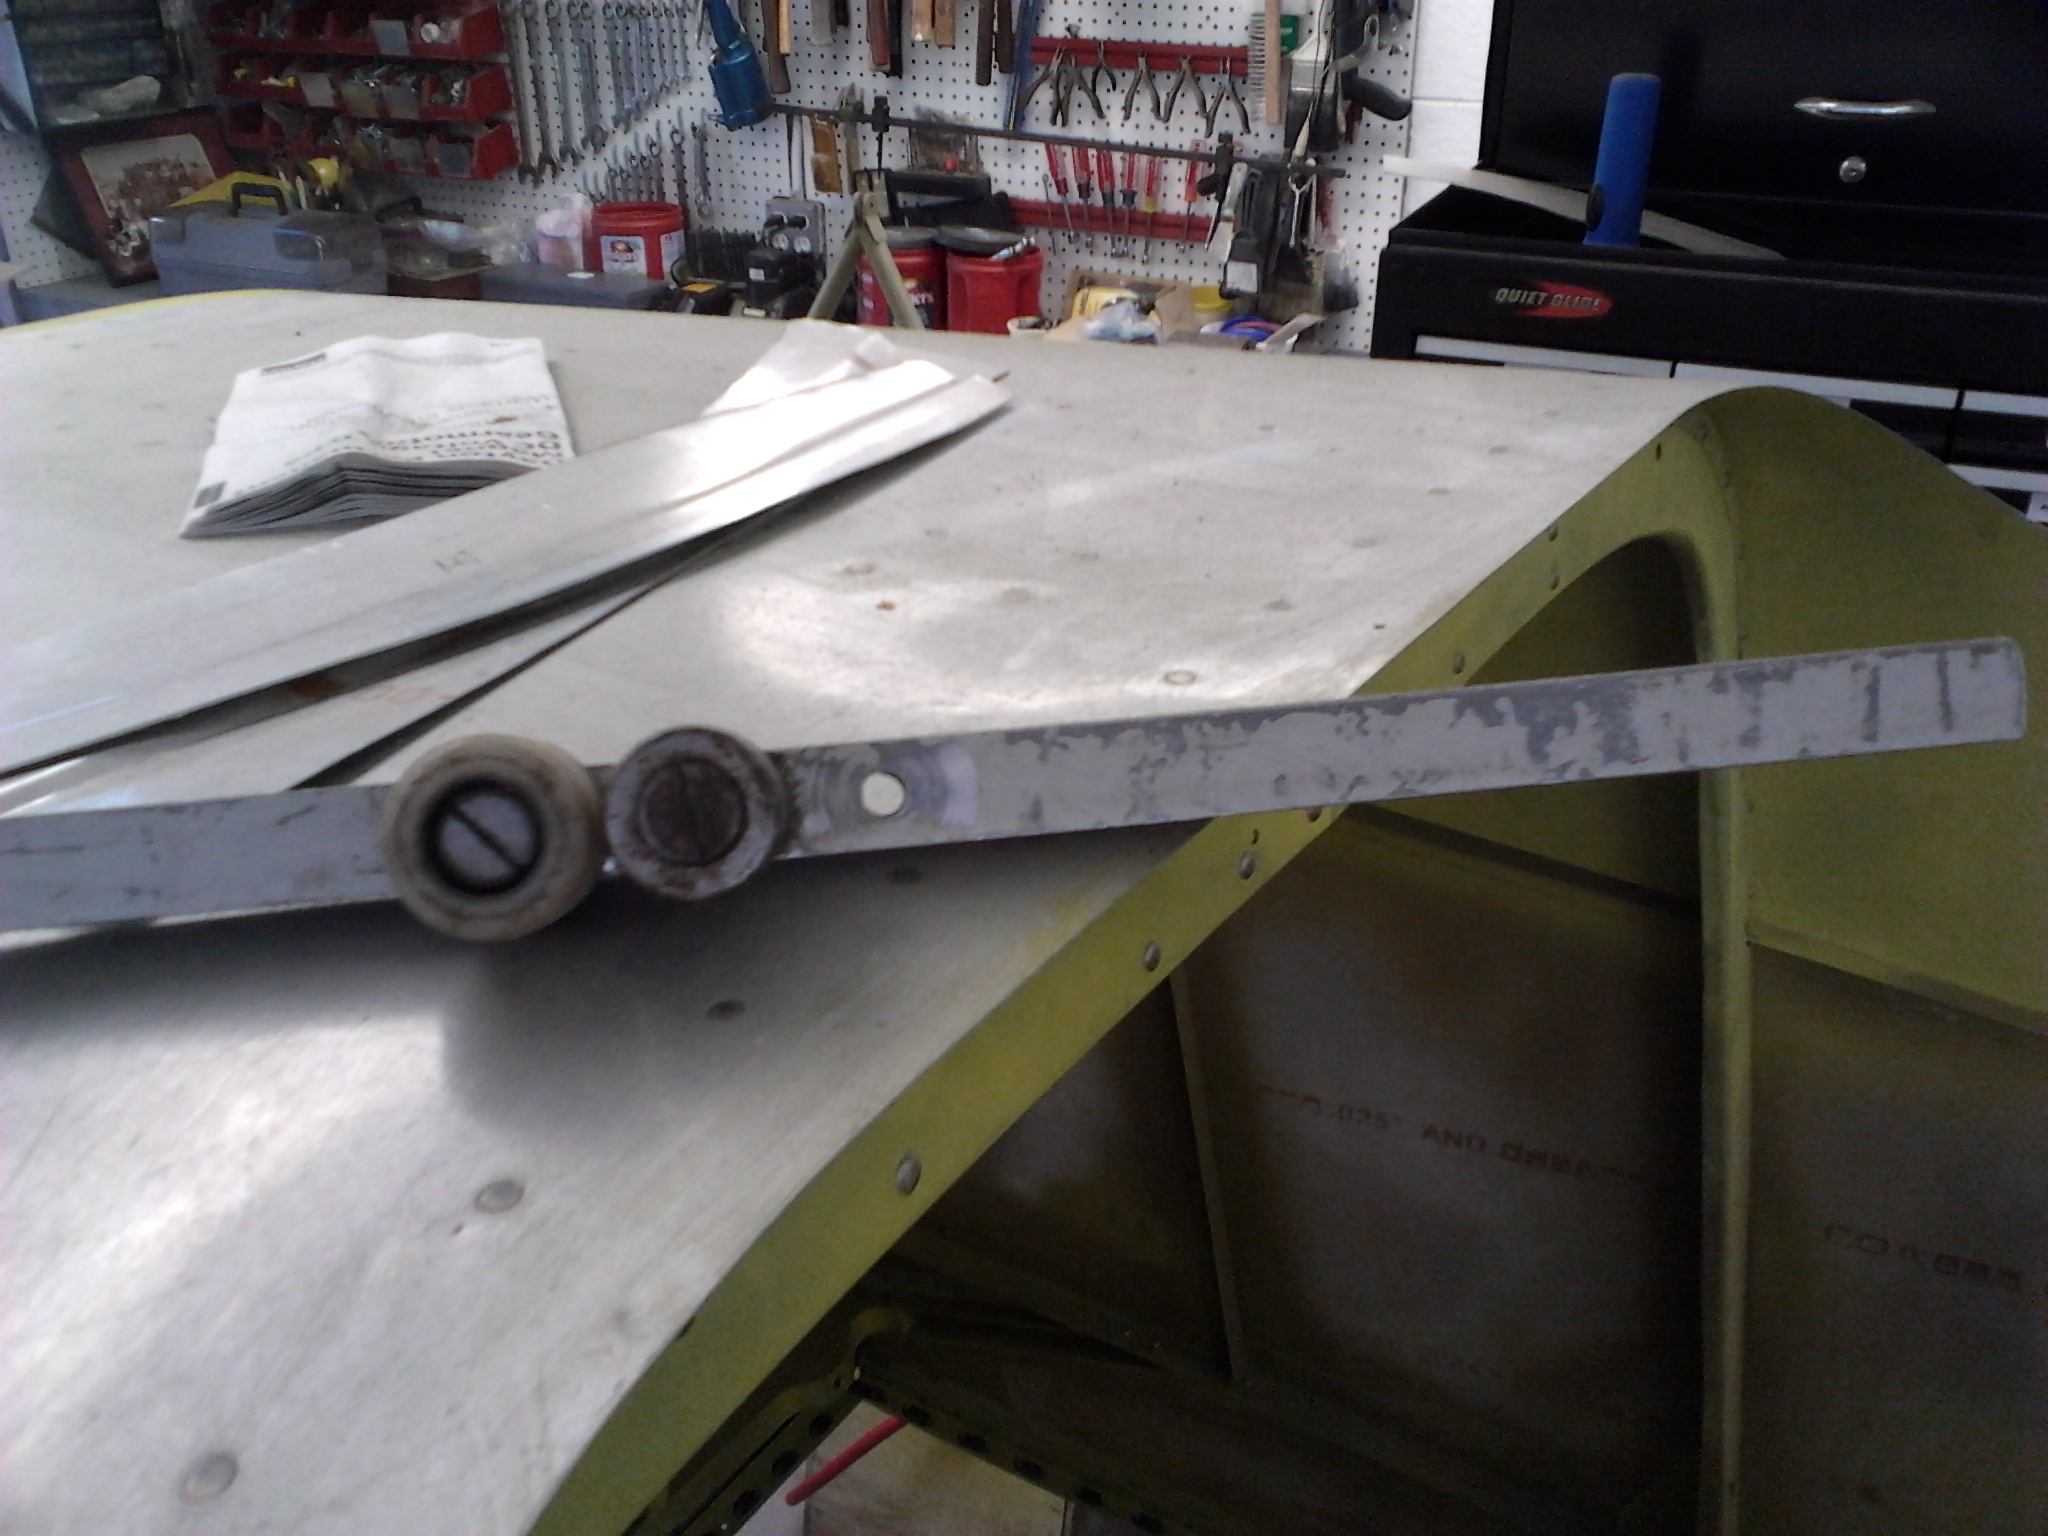
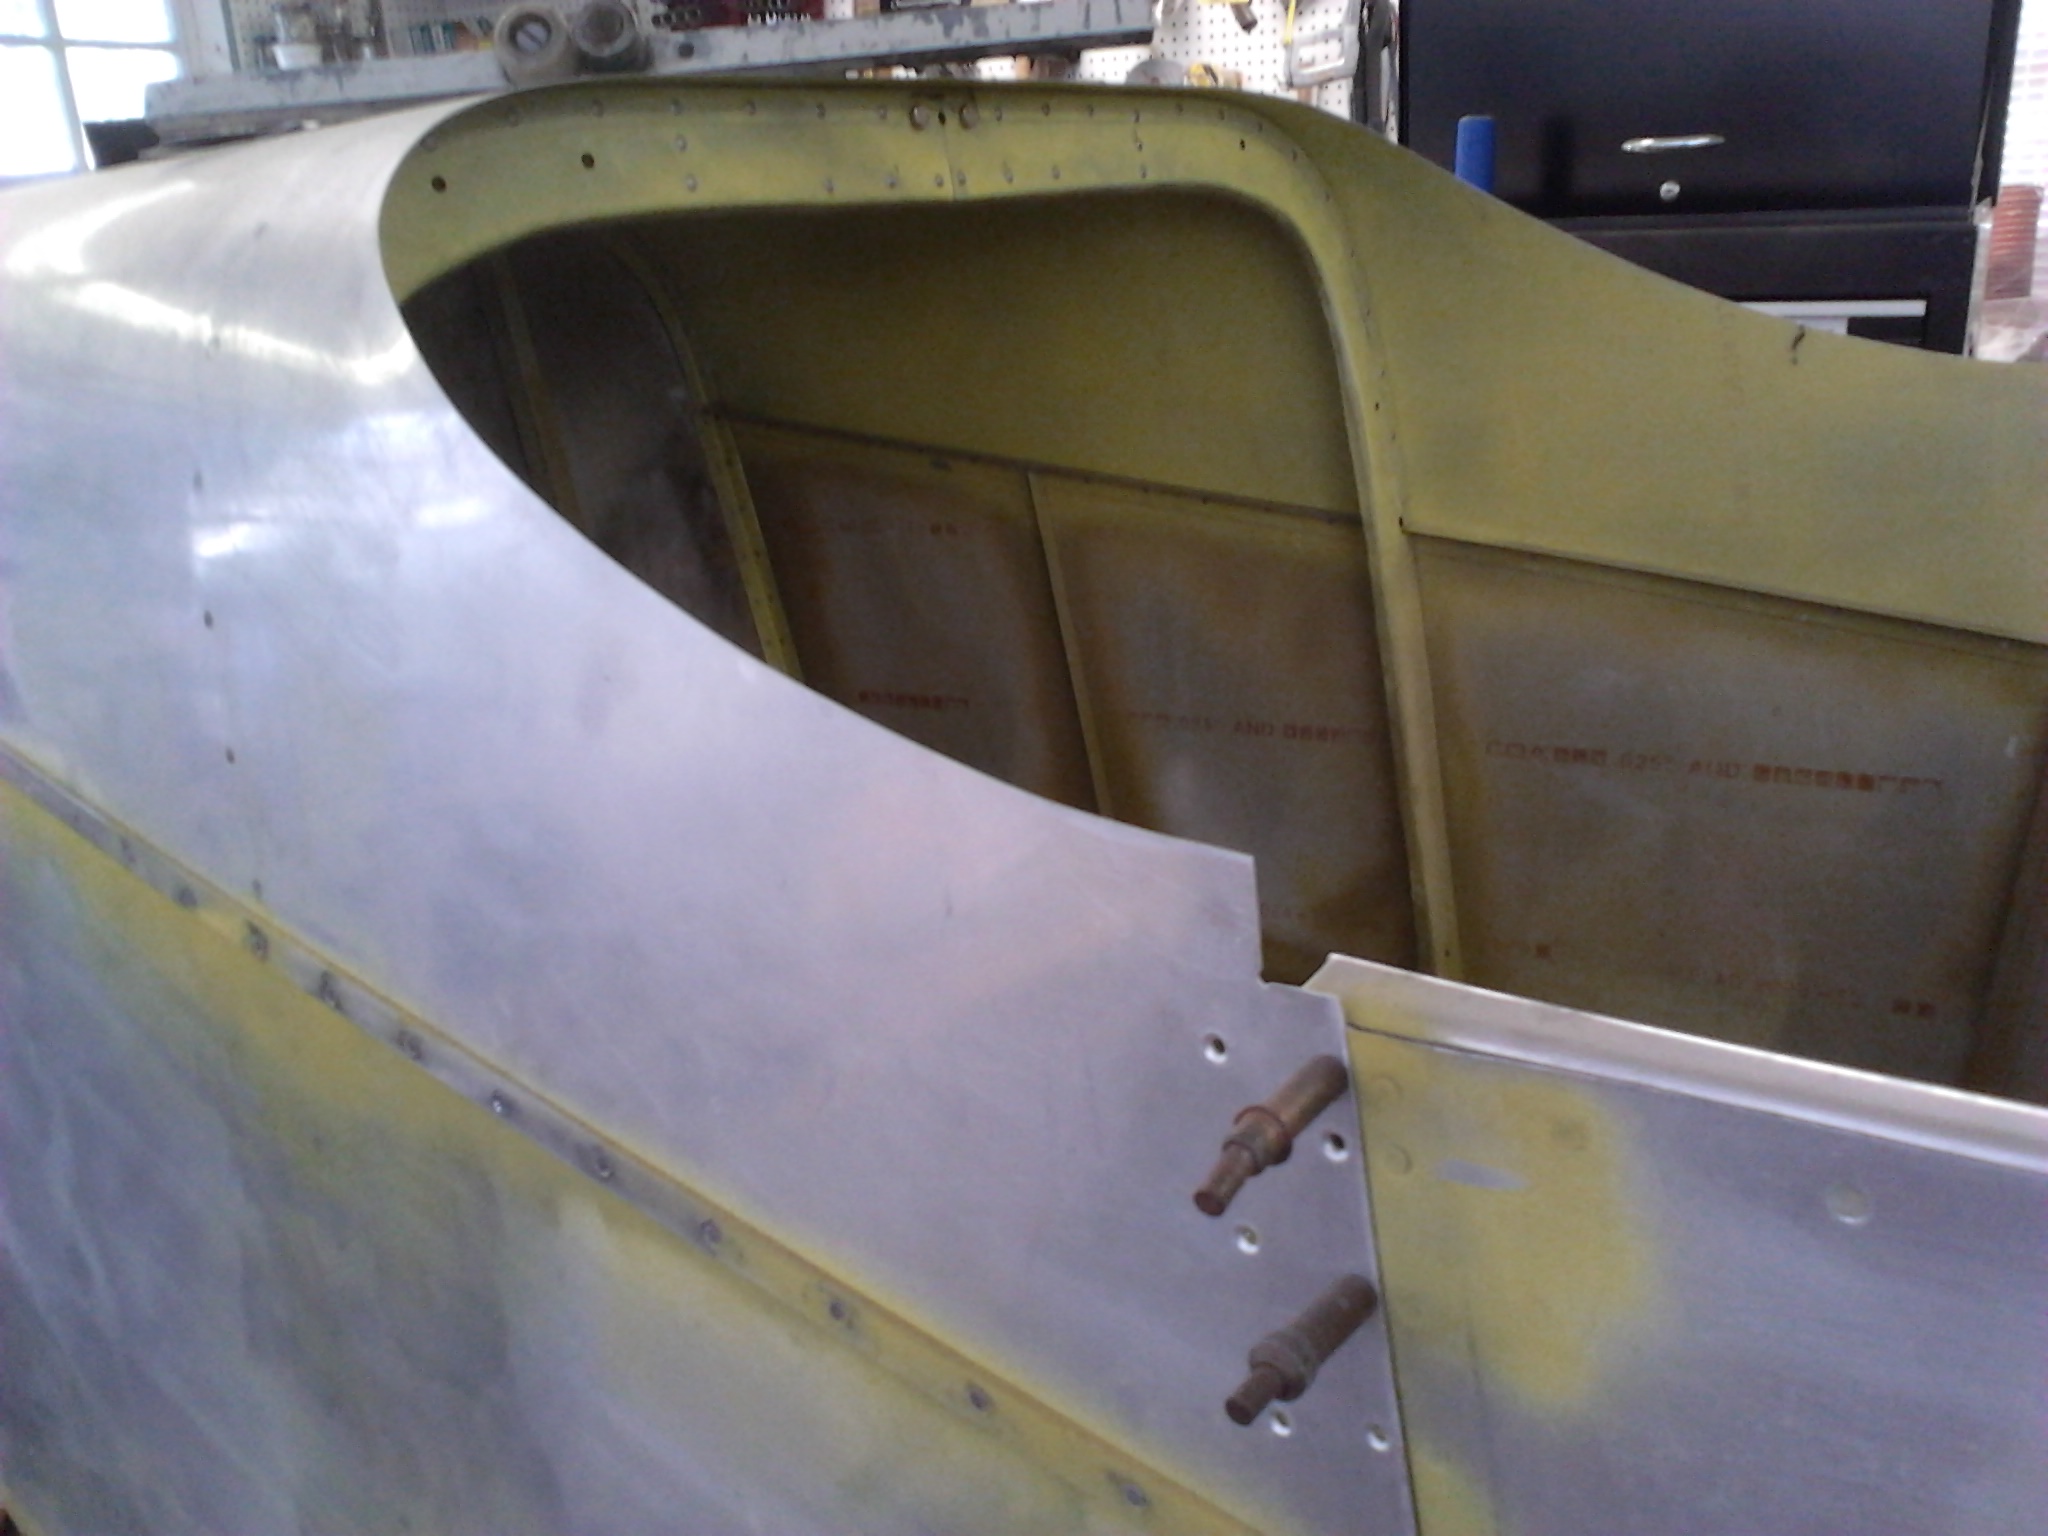
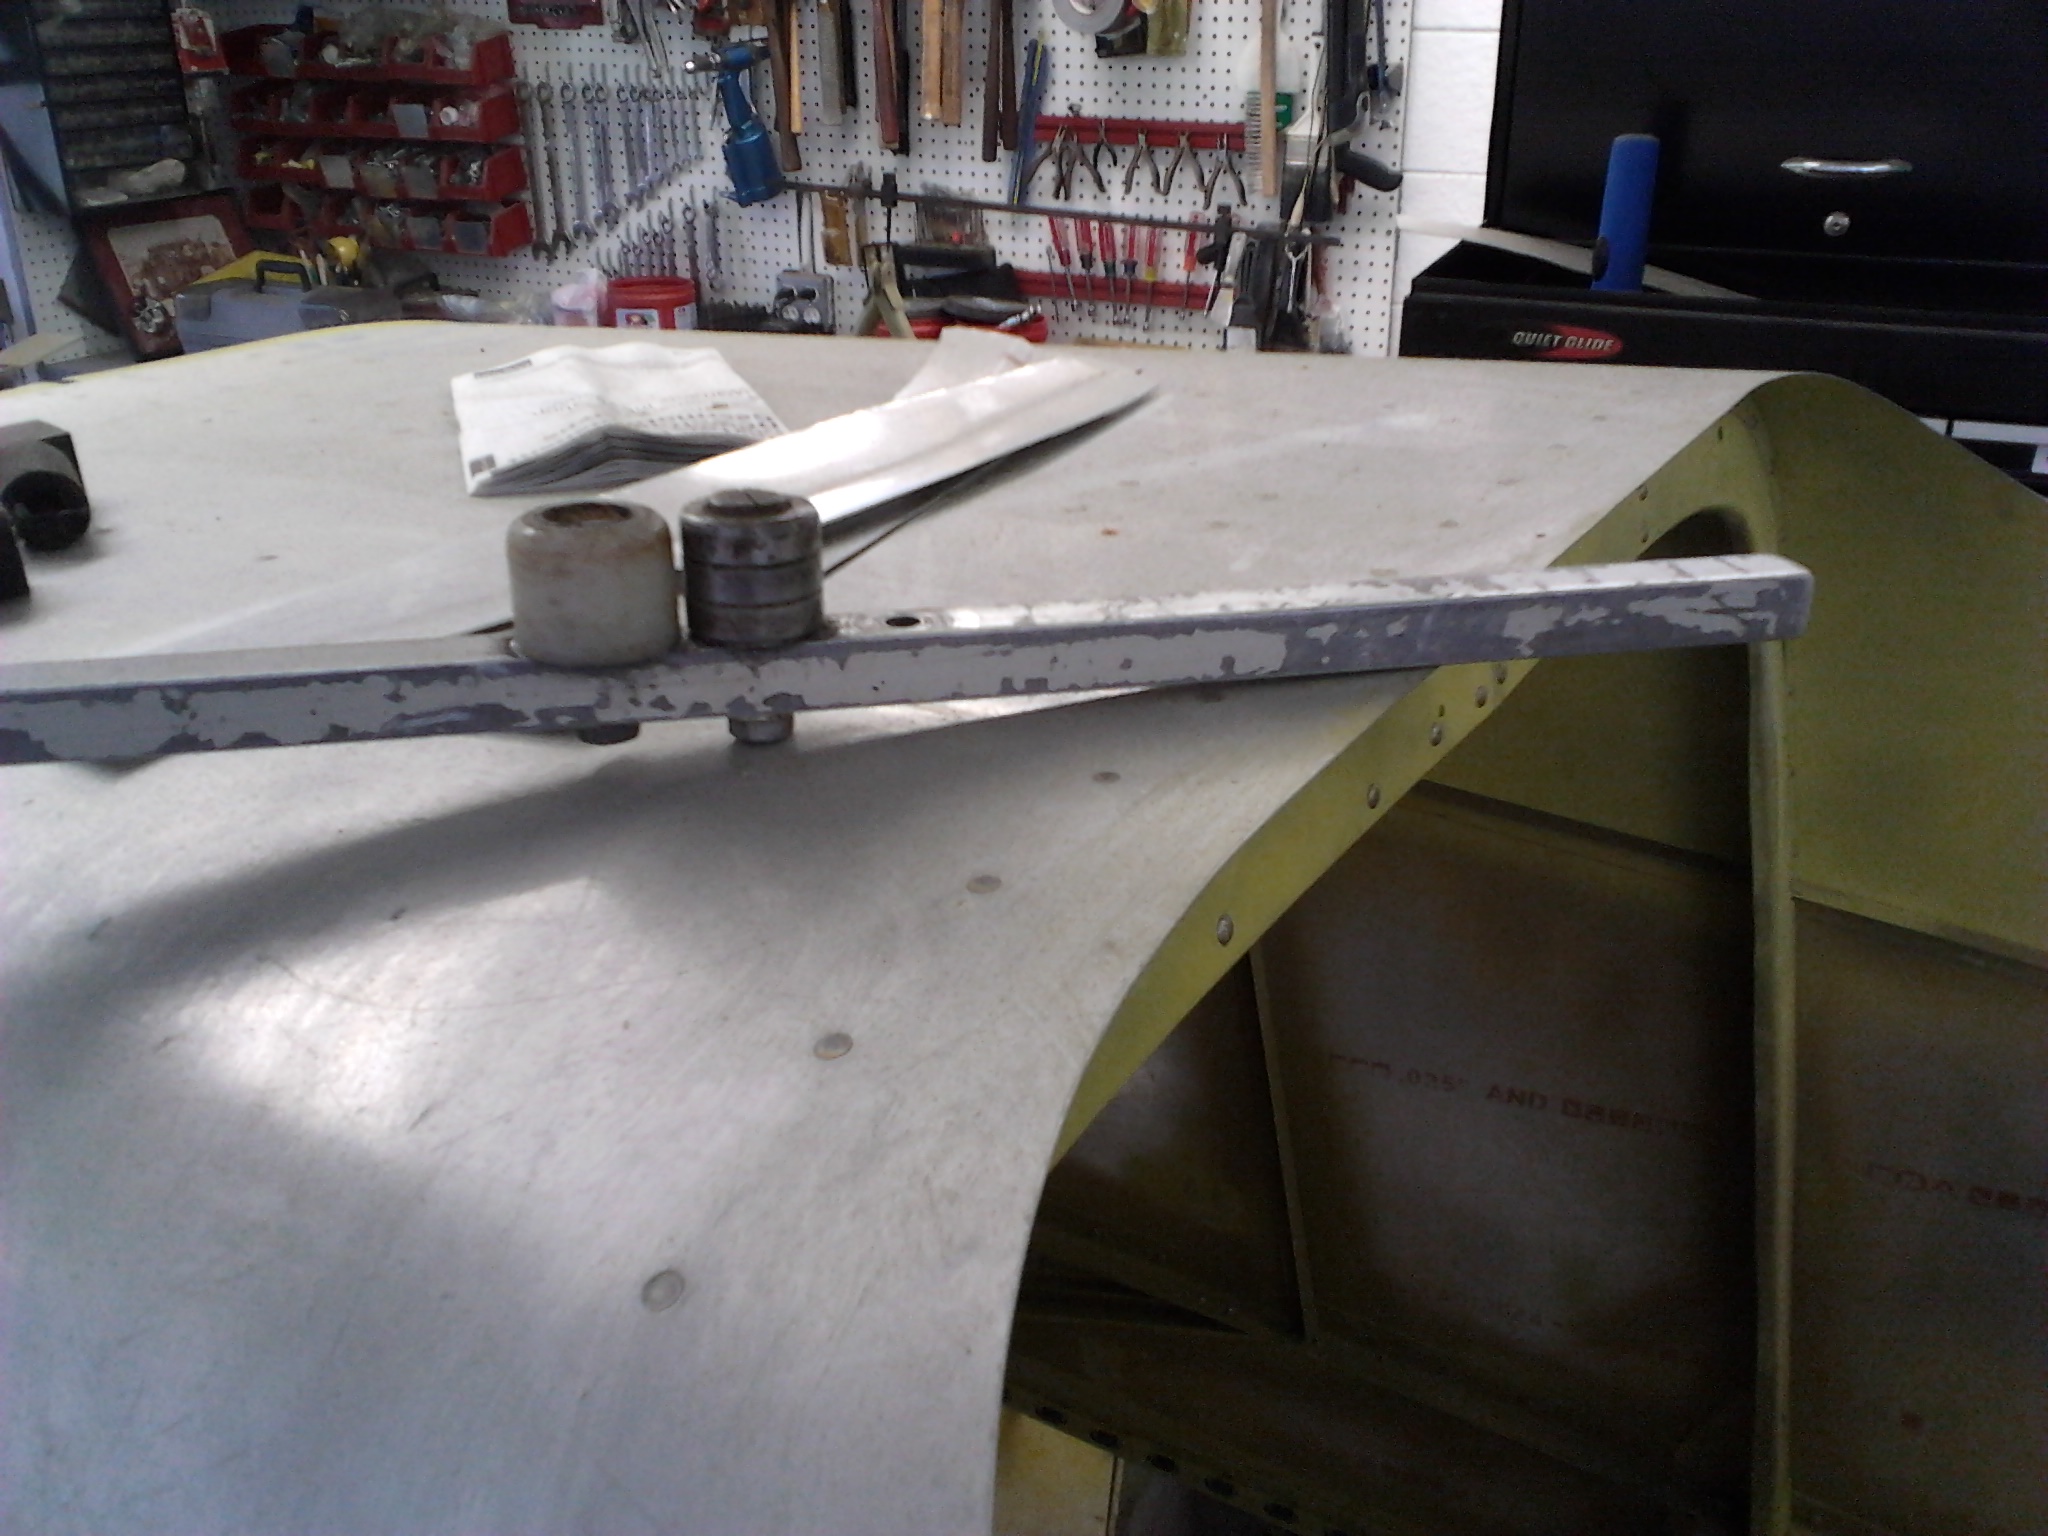
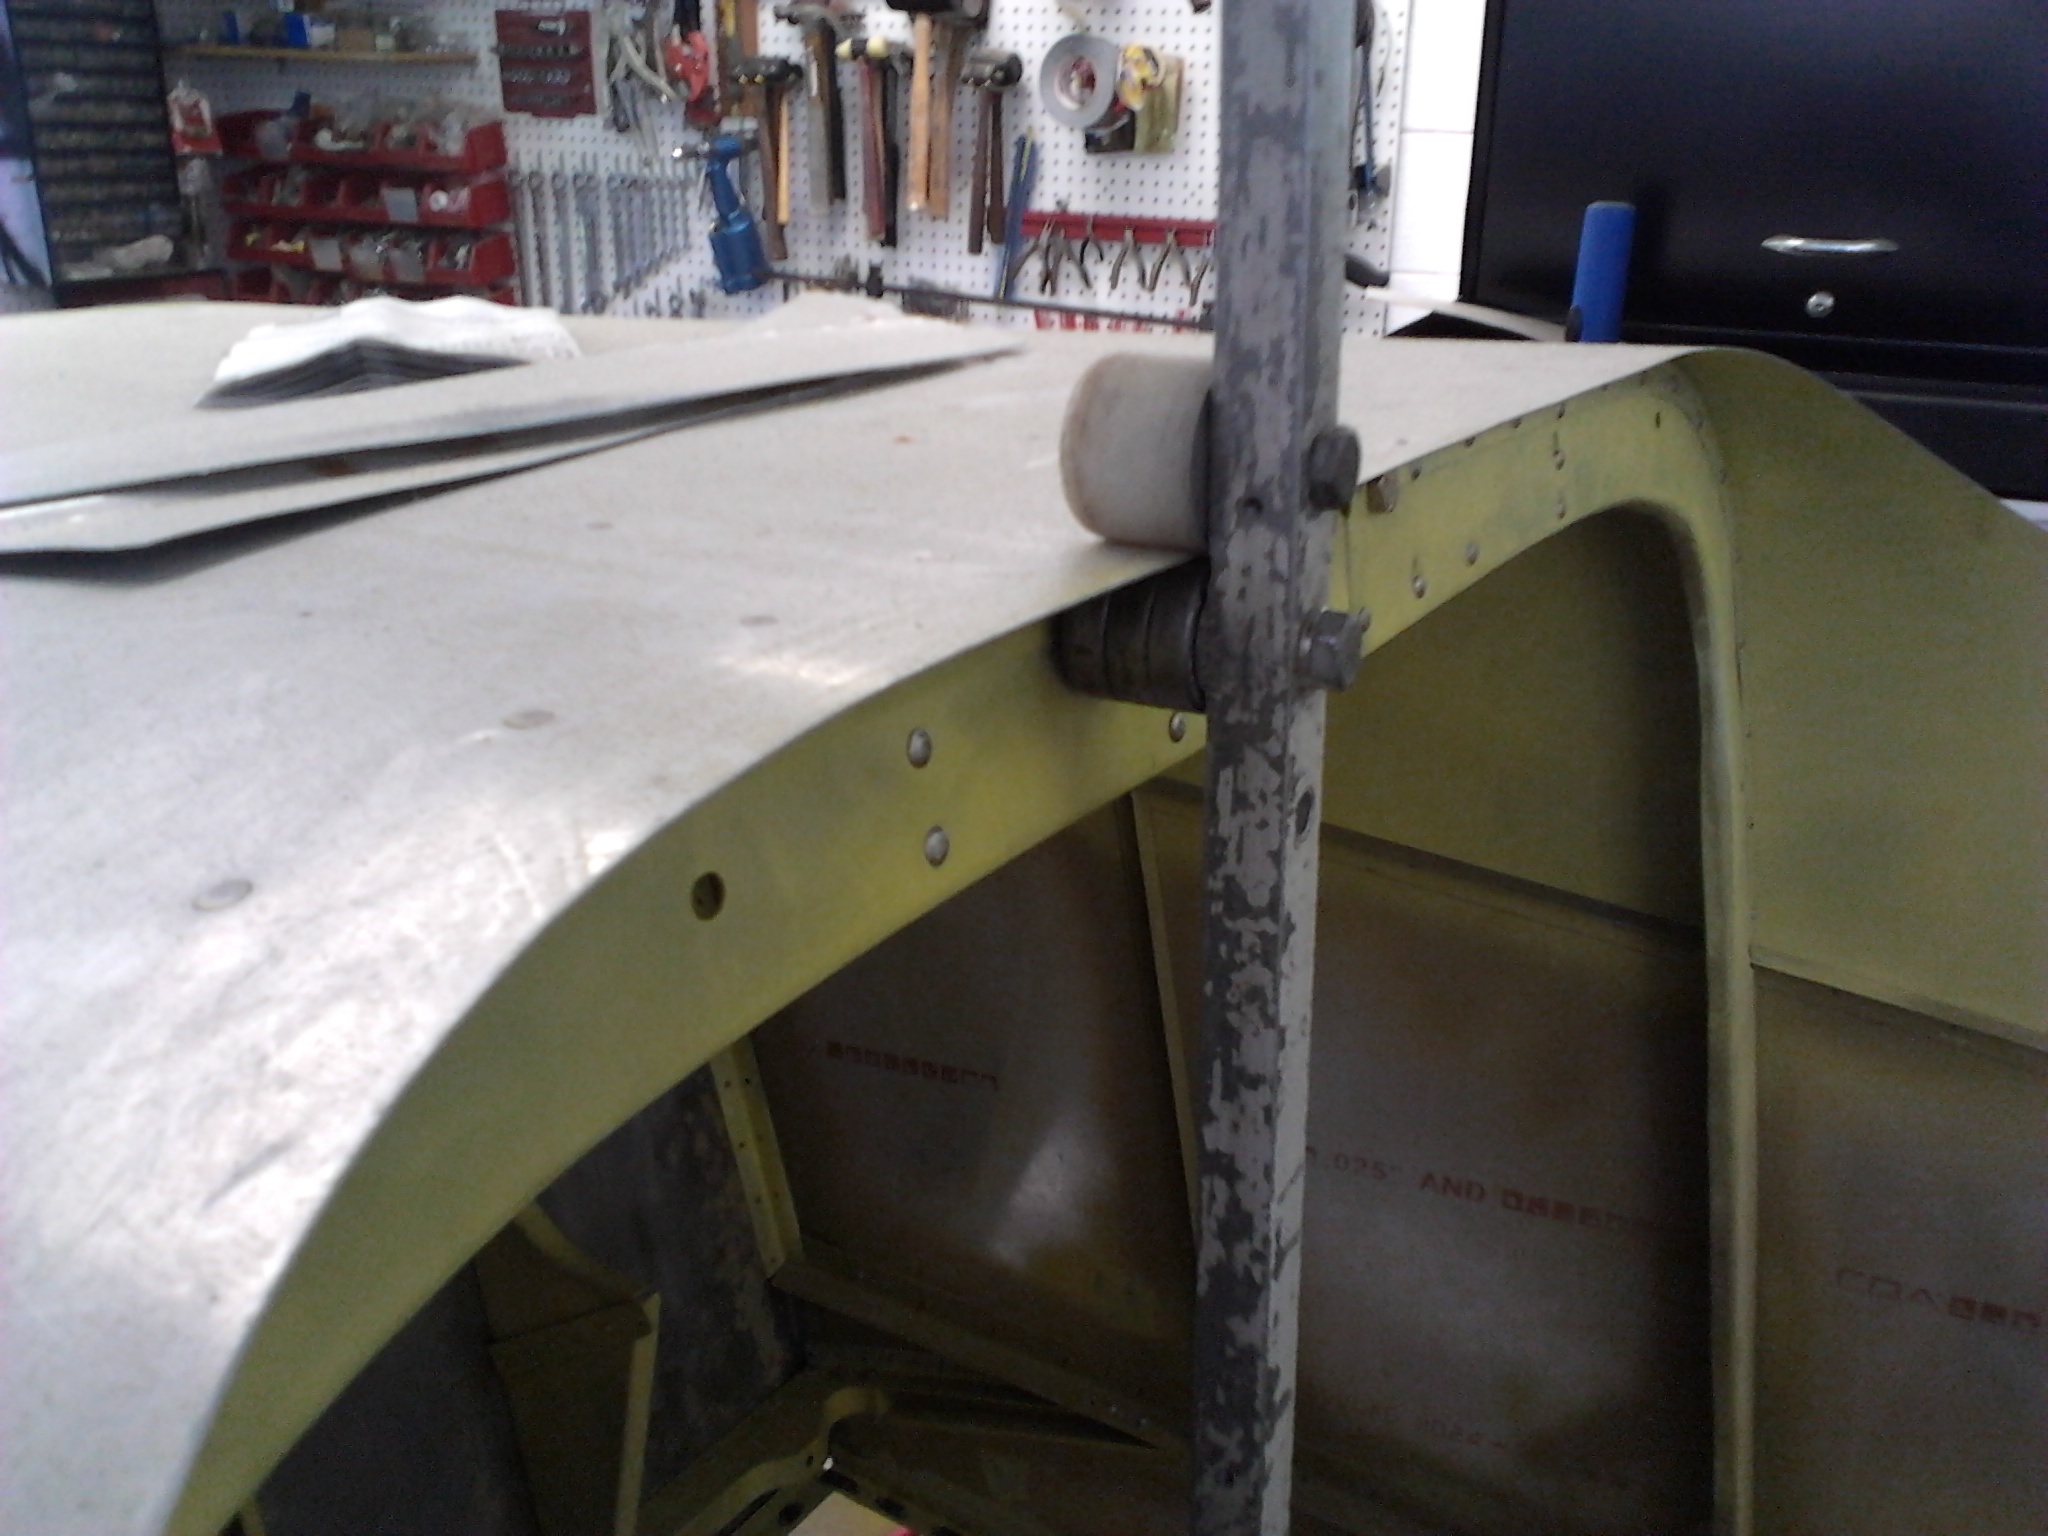
Did you mean this area ? I did not use a foward trim strip on the windshield. The over the top piece I tucked in between the skin and the roll bar. I also put a beveled edge on all my trim strips. To do that I modified an edge roller with a hardwood guide so I could clamp it into a vise and pull the entire length of the trim strip thru it, thereby maintaining a constant edge. [:p]

RB

Image Insert:
Image

Author:  Scott Stine [ Mon Oct 24, 2011 8:51 am ]
Post subject:  Canopy Fairing

That is exactly where I am talking about. But how does the canopy side skirt trim tuck under the windshield trim strip....magic. The canopy skirt is outside the sideskin and the windshield trim strip is inside the sideskin.....? What does it look like closed...?

Thanks for the help.

SS

Author:  leewwalton [ Mon Oct 24, 2011 9:12 am ]
Post subject:  Canopy Fairing

Scott,
There's no magic, the side skirt goes up to the side skin/canopy rail edge. When the canopy is closed it tucks up right into the windshield trim strip. The lower front corner of the canopy frame needs to be rounded a bit though.

Here's a sketch ...


Image

Author:  leewwalton [ Mon Oct 24, 2011 9:39 am ]
Post subject:  Canopy Fairing

Scott ... As a disclaimer that's just one way to do it ... you can also drop the canopy trim below the side rail if so desired, but you'll just have to shim the windshield trim piece out a bit at the side skin. Look at N718DR for an example of that ... in fact look at N27DW for the other above outlined method as well.

Author:  fytrplt [ Mon Oct 24, 2011 10:52 am ]
Post subject:  Canopy Fairing

I have posted some pix of N711SH and the Starr project that may help in showing the windshield trim-out. I made the boot cowl sheet longer and bent it up to slide the plex under the metal. The last four pix show the tool used for this. The fuselage needs to shimmed out where it goes over the roll bar to accomodate the windshield thickness.


Image


Image


Image


Image


Image


Image


Image


Image


Image

Author:  Rich Brazell [ Mon Oct 24, 2011 11:31 am ]
Post subject:  Canopy Fairing

Just like Lee sez, that's how I did mine. Canopy trim tucks up under the windshield trim when closed. Took a lot of work to get it just right.

RB

Author:  Scott Stine [ Mon Oct 24, 2011 12:33 pm ]
Post subject:  Canopy Fairing

Thanks Bob, I have a nice flange rolled up and I think that with a little "wedge" to shim the skin away from the Roll Bar then I think that I can shoehorn in the rubber, glass, rubber, trim strip, and sideskin over the top. Did you use #8's or #6 screws into the roll bar....? Seems like some go by plans for #8 and some use #6. Never been a size matters kinda guy, but just taking a poll.

thanks

SS

Author:  Rich Brazell [ Mon Oct 24, 2011 2:59 pm ]
Post subject:  Canopy Fairing

That is one neat flange tool ! Wish I had one like it when I did mine. [;)]

RB

Author:  fytrplt [ Mon Oct 24, 2011 4:00 pm ]
Post subject:  Canopy Fairing

I used #8's as the slightly larger washers give more "wiggle room" for fine tuning. However, the S-18 in the background of the hangar pix used #6. I believe it gives him a slight speed advantage.

Author:  Bill Williams [ Mon Oct 24, 2011 4:38 pm ]
Post subject:  Canopy Fairing

The first flange tool was a broken wheel borrow handle with a slot cut in it and plenty of grease. The roller has many uses, besides Thorps, Rv's, I used it to put wheel wells in Model A fenders.

Author:  Rich Brazell [ Mon Oct 24, 2011 8:14 pm ]
Post subject:  Canopy Fairing

Now I don't feel so bad not having that large flanging tool (still wish I had it). My tools of choice were several aluminum bars (different widths) with a slot cut into them (corners rounded and the slot polished) and carefully bending up the windshield flange a wee bit at a time.

RB

Author:  James Grahn [ Thu Nov 03, 2011 5:36 pm ]
Post subject:  Canopy Fairing

I have been using hardwood with a slot cut in it. It seems to stretch the material. I like the idea of rollers. that would make it less likely to stretch.

Author:  Rich Brazell [ Thu Nov 03, 2011 7:55 pm ]
Post subject:  Canopy Fairing

Even using my method I still got some of that "stretch." I blended in the imperfections with a wee bit of high tech filler. To date it has not cracked or flaked and looks very good. The roller seems to be the ticket ! [;)]

RB

Author:  Bill Williams [ Fri Nov 04, 2011 3:24 am ]
Post subject:  Canopy Fairing

I've made up several different rollers for different jobs. The roller Bob posted we made when we were installing a removable windshield in the RV7 we were building. one set of rollers were three bearings stacked to give 3/4" edge, the other roller was made from nylon with a 3/8" edge radius. The long bar allows you to control pressure when forming. I installed a wheel well yesterday in a '31 Model A that has 18 ga. steel fenders.

Page 1 of 2 All times are UTC - 6 hours [ DST ]
Powered by phpBB® Forum Software © phpBB Group
https://www.phpbb.com/